Saturday 21 June 2014

Gulab Jamoon

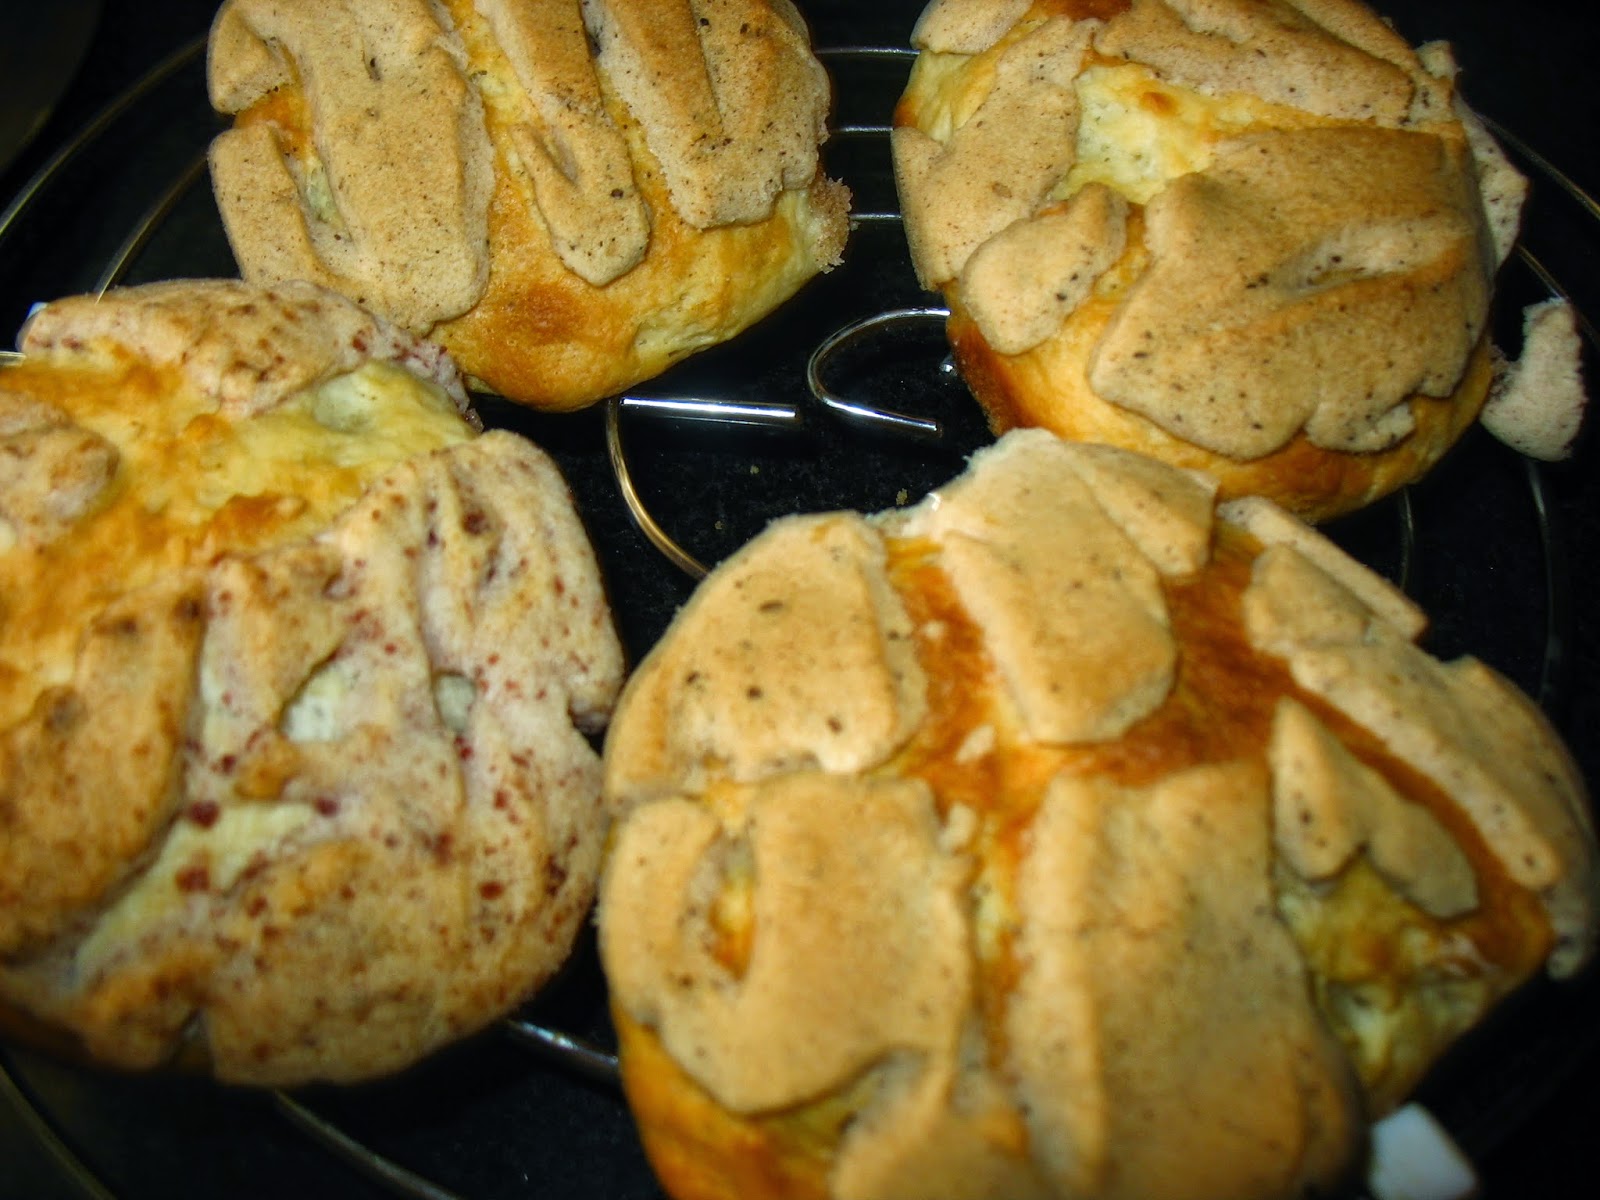
The smooth, sweet jamoons soaked in sugar syrup. That invariably mouth-watering dessert in most Indian Buffets. Well I cannot think of anyone who would dislike this lovely dessert, except for calorific reasons ofcourse. But a celebration calls for some highly calorific dishes on the menu and we are sure to have practice sessions a couple of times atleast before the occasion to get the dish right. I am sure most of us have tried the packaged instant mix for gulab jamoon. The ingredients are anyone's guess.

Ingredients
Khova/dry evaporated milk - grated, 1 1/2 cups 
Maida/Corn Flour - 1/2 cup 
Water - just to blend

Sugar syrup
water - 1 1/2 cup
sugar - 1 1/2 cup
Cardamom - 2, crushed and powdered with the pestle
Rose essence - 3-4 drops
Lemon juice - a few drops

Method
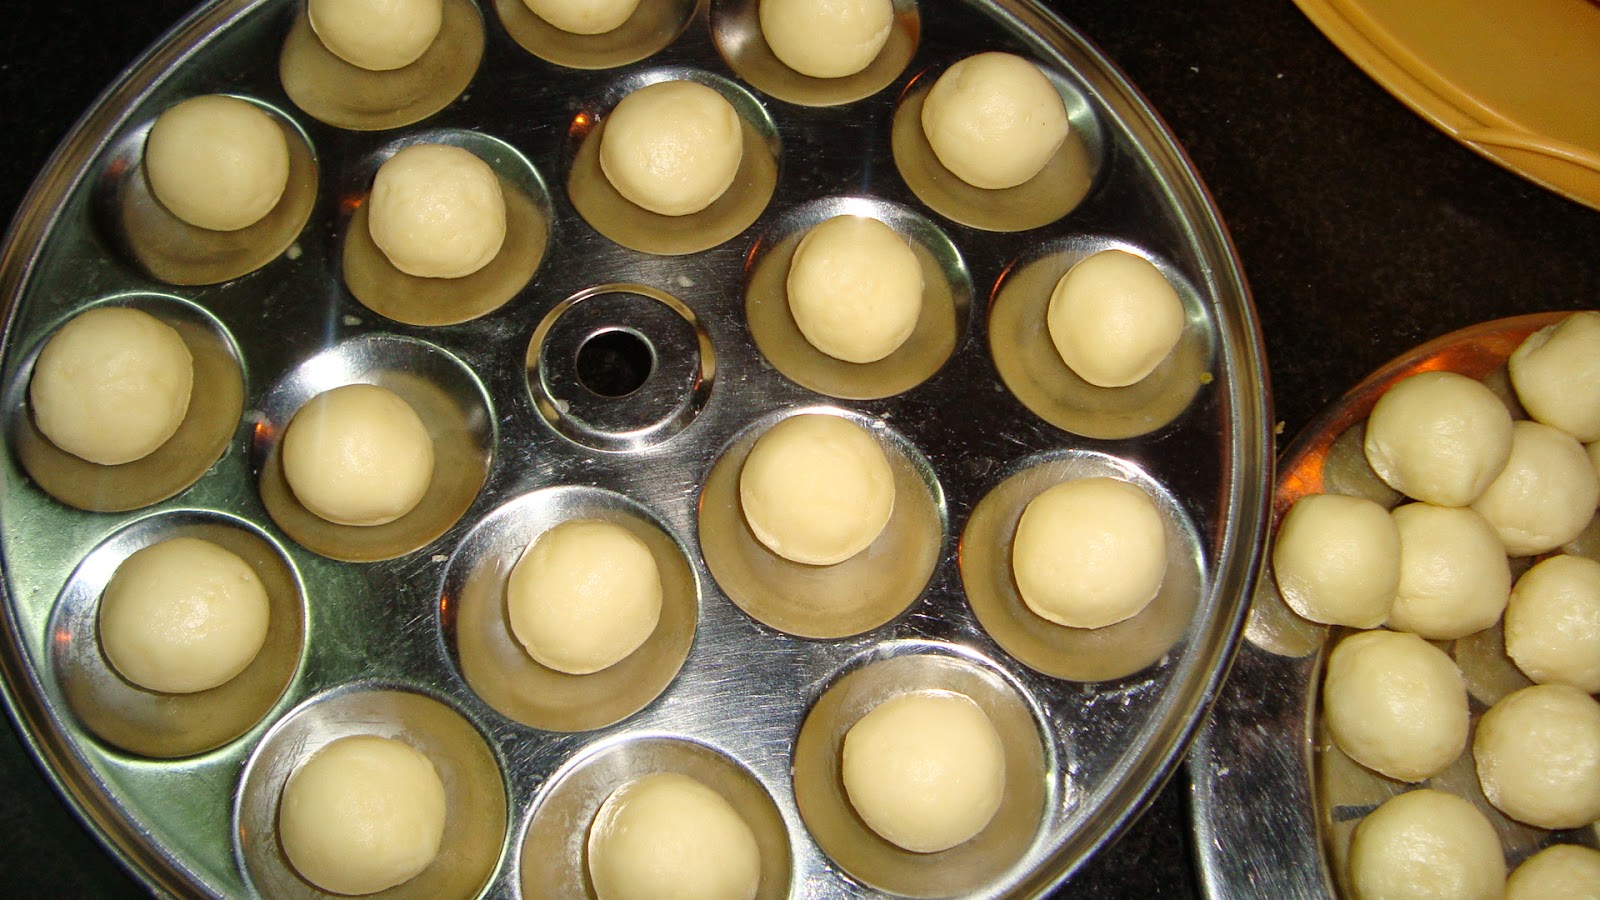
Use your fingertips lightly  and mix the khova and maida to make a crumbly mix. Add just enough water to make a smooth dough very lightly with your fingers. Do not knead or the jamuns will turn out hard.

With this quantity of ingredients  you can make 40 medium sized jamuns. 

Place the balls of dough on a plate. 

Prepare the sugar syrup in the meanwhile. Heat the water and add the sugar, stirring slowly. Keep stirring until the sugar is completely dissolved for about 10 minutes. Do no overheat or the sugar will caramelize. 

Add the lemon juice to the syrup, to avoid the sugar from crystallizing after it cools down. Take the sugar syrup off the flame when it is of the right consistency (pourable but thick) and add the cardamom and rose essence. 

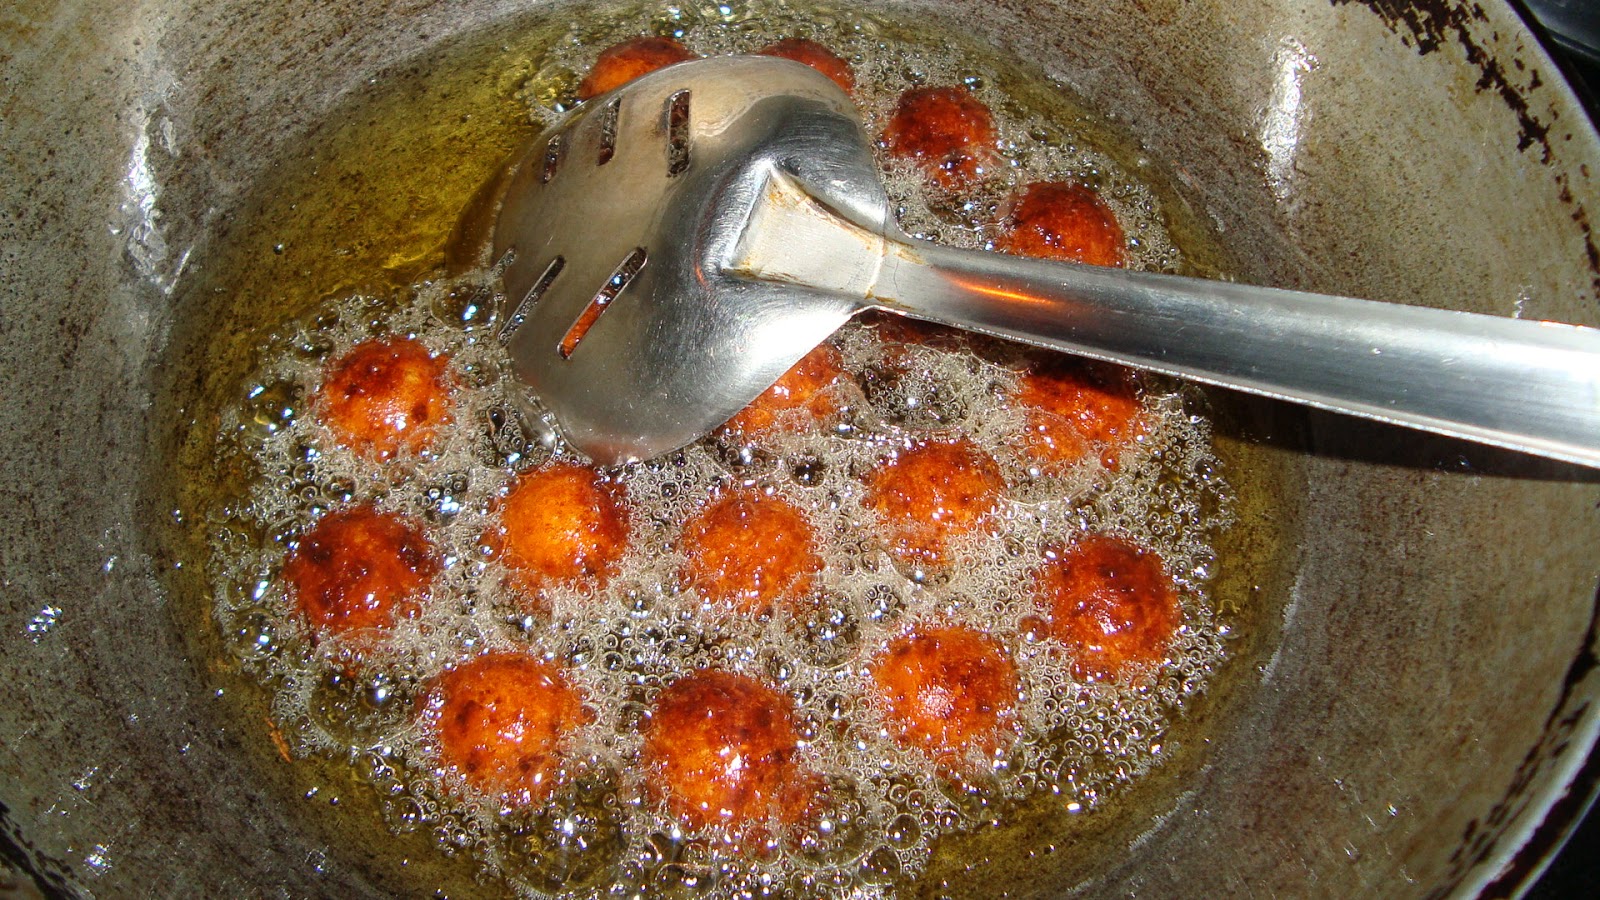
While the sugar syrup is still hot, start frying the jamun balls in oil. Keep tossing them around in medium flame, so all sides cook evenly and the jamuns do not crack. 


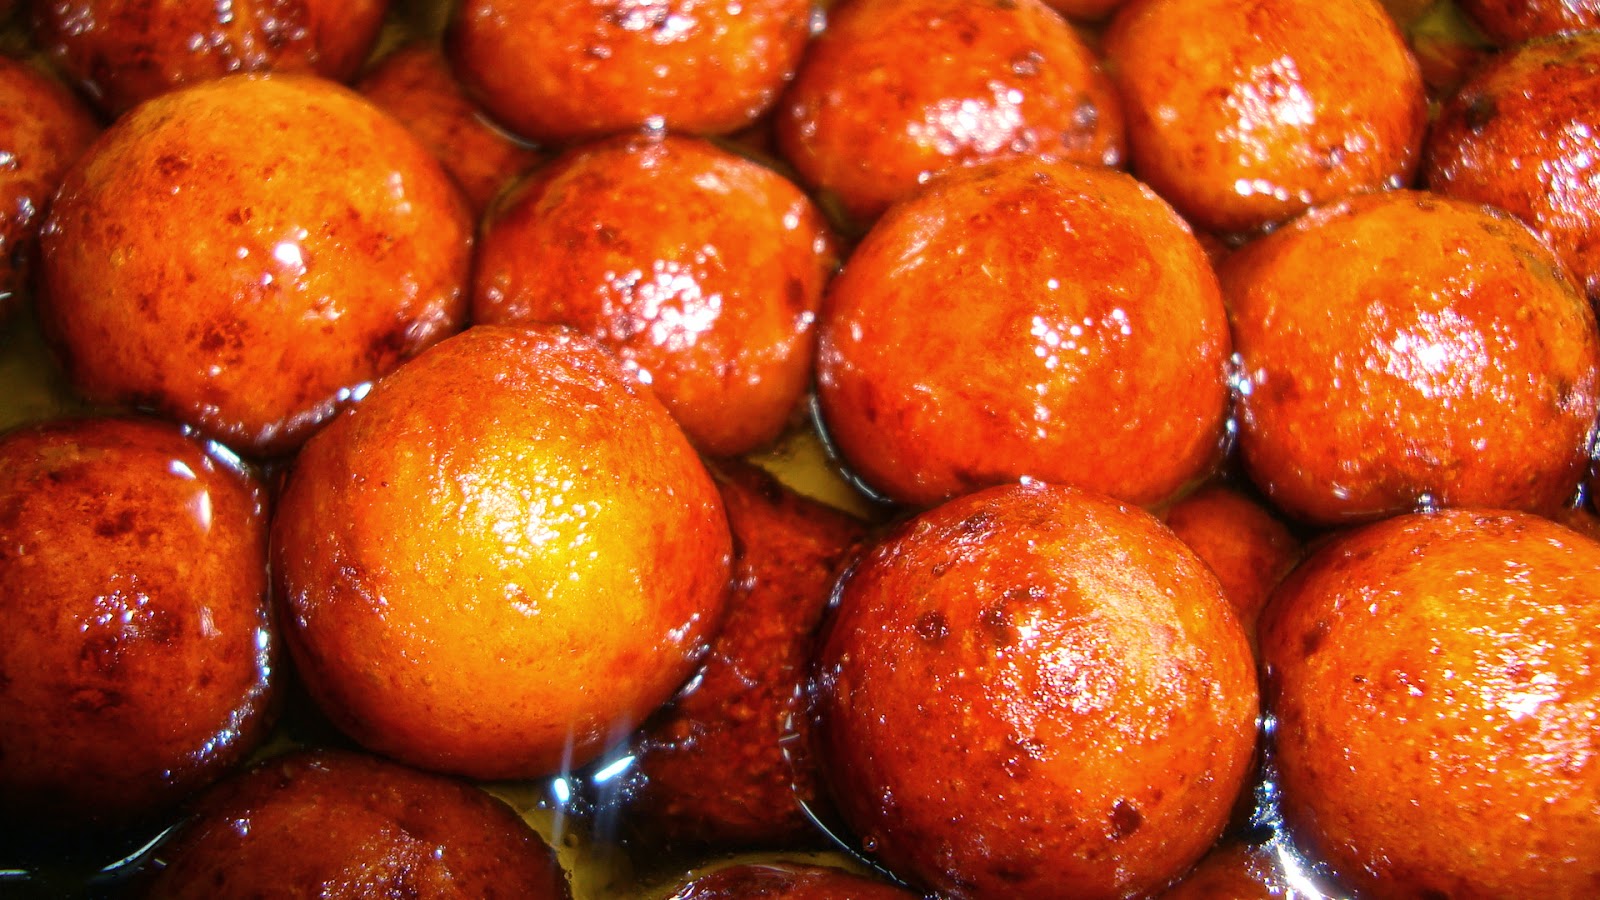
Drop the hot jamun balls directly into the sugar syrup.


Allow the jamuns to soak. The syrup will cool down in a couple of hours. You could serve the jamus warm or cold with a few spoons of syrup.


Verdict
Something incredibly satisfying about making something from scratch. This is one of those satisfying endeavours, to all senses including your palette ;)

priya's signature image at photobucket

Wednesday 18 June 2014

Home-made Pizza

A simple home made pizza can be very satisfying especially on a Friday or Saturday night in the company of a movie. Kids would down it in no time and the movie in that case would be some Disney or Pixar animation movie.

Ingredients for 4 6-inch pizza base
1 1/2 cups of lukewarm water
2 1/4 tsp dry instant yeast
3 1/2 cups of bread flour (I usually mix 2 1/2 cups of maida (APF) and 1 cup of wheat flour)

2 Tbsp olive oil
2 tsp salt
1 tsp sugar

I add the instant yeast directly to the dry ingredients and sift well. I then add the warm water mixed with olive oil and make the dough. 

If your yeast requires proofing, add it to the warm water and allow it to proof, and then add the rest of the ingredients in the following order - oil, sugar, salt and finally flour. 

Use the hand mixer for 10 mins and knead into a soft, smooth and elastic dough.

Place the ball in a bowl coated with olive oil and turn it over, so all sides of the ball are coated with oil. 

Cover with a plastic wrap and let it rise until double. 

Preheat the oven to 220 Degrees C.

Remove the plastic wrap and punch it down gently. Divide the dough into four balls and cover with plastic wrap and let it rest for 10 mins.

Ingredients for the topping (covers 4 6-inch pizza bases)

Tomato -2 ,sliced
Onions - 1, sliced
Olives - 10 -12, pitted and sliced.

Tomato sauce - 1 cup
Grated mozzarella cheesse or pizza cheese - 1 1/2 cup

Simple topping choices always available on hand are tomatoe, onion and cucumber. You can optionally add olives, mushrooms and corn. 

I have added onions, olives and tomatoes.

Working with one ball, starting at the centre and working outwards, use your fingertips to make a 1/2 inch thick circle of diameter roughly 7 inches. Slightly raise the edges of the pizza base, so as to hold the topping. I have not done this and I found the cheese slipping down the slides during baking.

Brush the top with olive oil and let it rest for another 5 mins.

Place the pizza base in the pan and add a little sauce, cheese and toppings.

Bake each pizza base for 10-15 mins until the crust is browned and the cheese is golden. 


Cut into wedges and serve. 


Verdict
Small effort but big rewards. The kids just love it and since you know exactly what goes in, it is a far healthier option. 
priya's signature image at photobucket

Monday 16 June 2014

Mix Vegetable Gravy in Garlic Sauce - Chinese style


The simple vegetable gravy I promised with the Chinese Fried rice post. This is with garlic sauce base. I also make white sauce and add cooked chicken. More on that later.

Ingredients
Following Vegetables - 2 cups in total
Cleaned cauliflower flowerrettes - small
Capsicum - diced
Carrots - broad, thin slices
Green peas

Corn flour - 1 tbsp
Garlic paste - 1 tsp
Pepper - to taste
Tomato Sauce - 1/2 tbsp
Soy sauce -  few drops
Salt - if necessary.
Water - as required.

Oil for frying

Method
Heat some oil in a heavy bottomed pan. Add the vegetables and stir fry until almost soft. Add the garlic paste and mix well. Add a little salt and keep frying. 

Make a paste of cornflour with as much water as necessary and add it to the cooked vegetables. 

Add the sauces and keep stirring. Add pepper if necessary. Now let the corn flour paste cook and reach the desired consistency. 

Garnish with chopped spring onions and serve with fried rice. 

Verdict
Simple quick and easy side dish to fried rice.

priya's signature image at photobucket

Saturday 14 June 2014

Vegetable Fried Rice - Chinese Style

What is different about fried rice as compared to regular pulav. My little girl calls it while biryani rice. She is partly correct. The idea is that it is a little mildly flavoured compared to our pulav, unless ofcourse you are talking about Schezwan fried rice.

So here is a quick easy way to make Veg fried rice. I some times add egg scramble and convert it into egg fried rice.

Recipe
Ingredients Rice - 1 cup, cleaned and soaked

Following Vegetables - totaling to 1cup
Carrots - finely diced
green peas
Bean - thin slices
Finely sliced onions.

Spring onions for garnishing
Oil for frying
Salt and pepper to taste. 

Method Cook the rice with a little salt and oil and allow it to cool down. It is better to cook it in the pan instead of using the cooker. The rice grains will separate easily when cool. Separate the rice grains and keep aside.

Fry some oil in a large bottomed heavy pan. Add the vegetables, a little salt and pepper and stir fry until cooked. If you want to cook the vegetables in water you could do that and reduce the oil added. 

When the veggies are cooked, add the rice and mix well, tossing around every few seconds. Sprinkle some pepper to taste. 

If you wish to make egg fried rice, use the same procedure and add scrambled eggs to the rice while mixing with vegetables. 

Garnish with spring onions.

Serve hot with soy sauce, tomato sauce and Vinegar dressing.


Verdict Simple, quick and easy fried rice. You can make some chinese style vegetable gravy to go with this too. Watch out for the next recipe.

priya's signature image at photobucket

Thursday 12 June 2014

Conchas de Colores Naturales - Baking Eggless (May Challenge)

Is it already June 2014? It just seems like yesterday when we welcomed the new year... Phew! time flies, literally and I have missed 3 challenges... Sorry but work at office has been keeping me away from the blogosphere for the last 3-4 months. So when things eased out a little, I decided I will not skip this month's challenge and here it is :)

I admit it, it is a exasperating recipe. Too many different things come together for this, each with its own preparation time and rising time... But it is totally worth it...

Here is the original recipe... I have given the substitution tips below the original recipe.

Yields 16 rolls

Time:
Mix and ferment sponge: 2 hours

Mix final dough: 10 minutes

First fermentation : 30 minutes, then 8 – 16 hours in the refrigerator

Divide and shape: 20 minutes

Proof: 3 hours

Bake: 20 minutes

Sponge Ingredients:
113 g flour
3 g instant yeast
1 T. warm water
50 g (one large) egg, lightly beaten

Final Dough Ingredients:
450 g flour
180 g sugar
3 g (1/2 t. salt)
45 g unsalted butter, softened

220 g egg
57 g warm water
7 g instant yeast
all of the sponge

Topping Ingredients:
114 g all-purpose flour
114 g powdered sugar
91 g unsalted butter, at room temperature

Colors/flavors as desired. The original recipe specifies, 2 T. cocoa powder for half, and 1 T. cinnamon for the other half. I divided the dough in quarters and used 1 T. coarsely ground cacao nibs, 3 g dehydrated raspberries, 3 g dehydrated blueberries (both berries finely ground in a spice mill with a bit of granulated sugar), and 1.5 t. acai powder.


What did I use? 1 Tbsp Cinnamon for the brown ones
1 Tbsp dried cranberries for the light pink hue. 

Method:
In a medium, combine the sponge ingredients and mix until well incorporated. 
Cover and ferment until double in bulk, about 1.5 hours.
In the bowl of a stand mixer with a dough hook, combine all of the final dough ingredients except 60 g of the sugar. 
Mix on medium-high speed (I used Kitchen Aid mixer speed 5) for 5 minutes.
Add the remaining sugar and continue to mix for another 3 minutes, until the dough more or less holds together around the dough hook. It should be soft and sticky and shiny.
Using a little flour around the sides of the bowl to help loosen the dough, turn the dough into a lightly buttered container. 
Cover and ferment in a warm place for 30 minutes, then place in the refrigerator overnight (8 – 16 hours).
Before removing the dough from the refrigerator, prepare the topping. 
Sift flour and powdered sugar together, then cut the butter into the mixture and work it together into a paste with your fingers. 
Divide the paste and add the colorings.
Turn the main dough into a lightly floured counter. Divide it into 16 pieces of approximately 60 grams each.
Shape each piece into a ball by cupping your hand over it loosely and rolling it around on the counter. 
Place the balls on two large parchment-lined baking sheets.
Divide the topping paste into 16 balls. Press each ball out into a 3-inch disc and place it on top of a ball of dough, using the palm of your hand to flatten it out a little.
Using the tip of a sharp knife, score through the topping paste in a shell pattern. (Don’t worry if the topping disc cracks at this point, or during baking; this is characteristic of conchas.)
Proof  in a warm place, uncovered, until they have increased in volume by about 50%, about 3 hours.
Meanwhile, preheat the oven, with racks on the middle and top thirds, to 375F.
Bake for the conchas for about 20 minutes, swapping the positions of the pans at about 12 minutes to ensure even baking. 
The topping should feel set and the rolls underneath should be slightly browned.
Cool on a wire rack. 
Now for the eggless recipe: 220g egg is about 4 large eggs (each egg is about 55 grams in weight and 1/4 cup by volume).

The eggs can be substituted with any of the following

1. 1 cup milk
2. 1 cup yoghurt
3. 1/2 cup cream + 1/2 cup milk
4. 1/2 cup dry evaporated milk + enough milk to make 1 cup in total

I used option 4. 

Why are there large cracks you ask? I delayed making the shell pattern by more than 20 minutes after fixing the topping. By then the bread had risen again and started cracking the topping paste.

I baked at 180 degrees C for about 20 minutes. Since I baked in a convection oven, I did not have to rearrange the buns midway. 

  • Verdict
  • I am sure the topping would have turned out picture perfect if the pattern was done on time. If you love to serve some fancy looking sweet buns say at a party or a get-together make mini version of these and they will be gone in a jiffy.
    priya's signature image at photobucket